
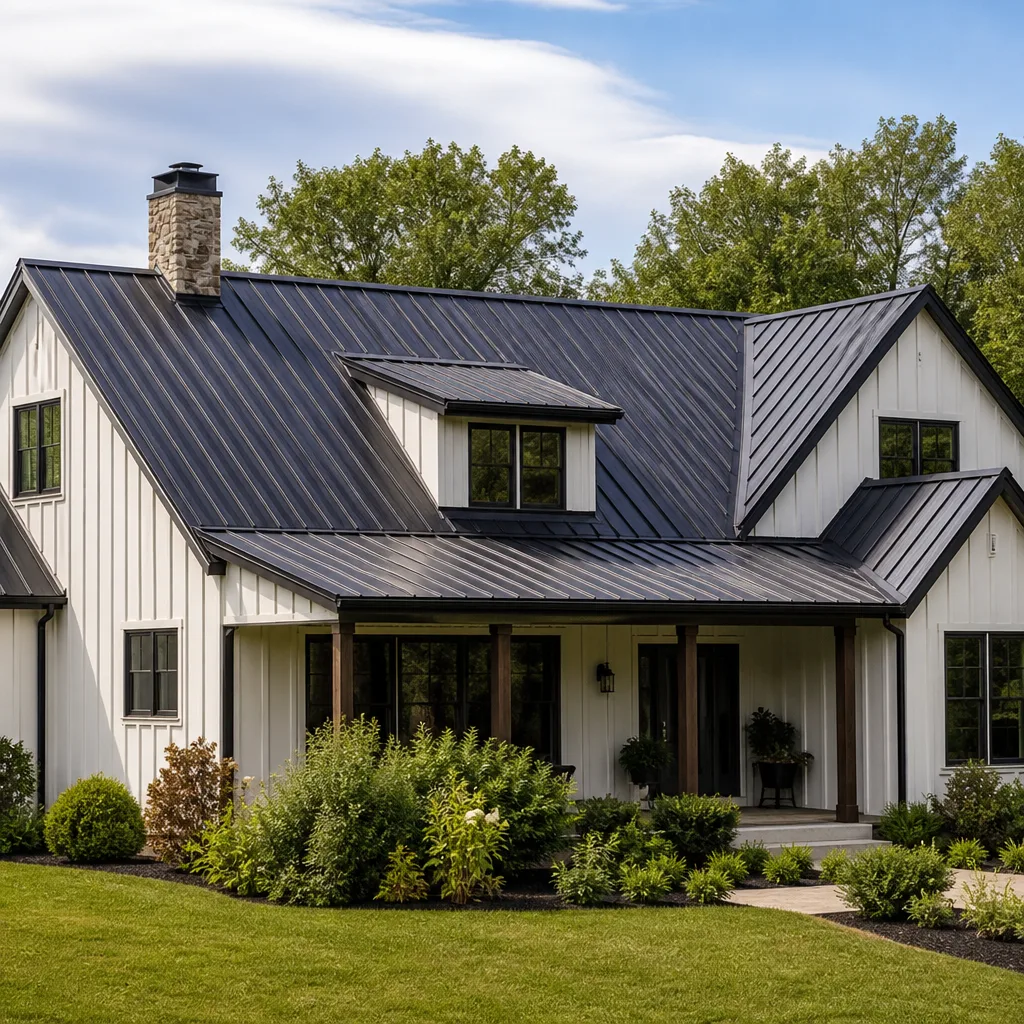
 Metal roofing
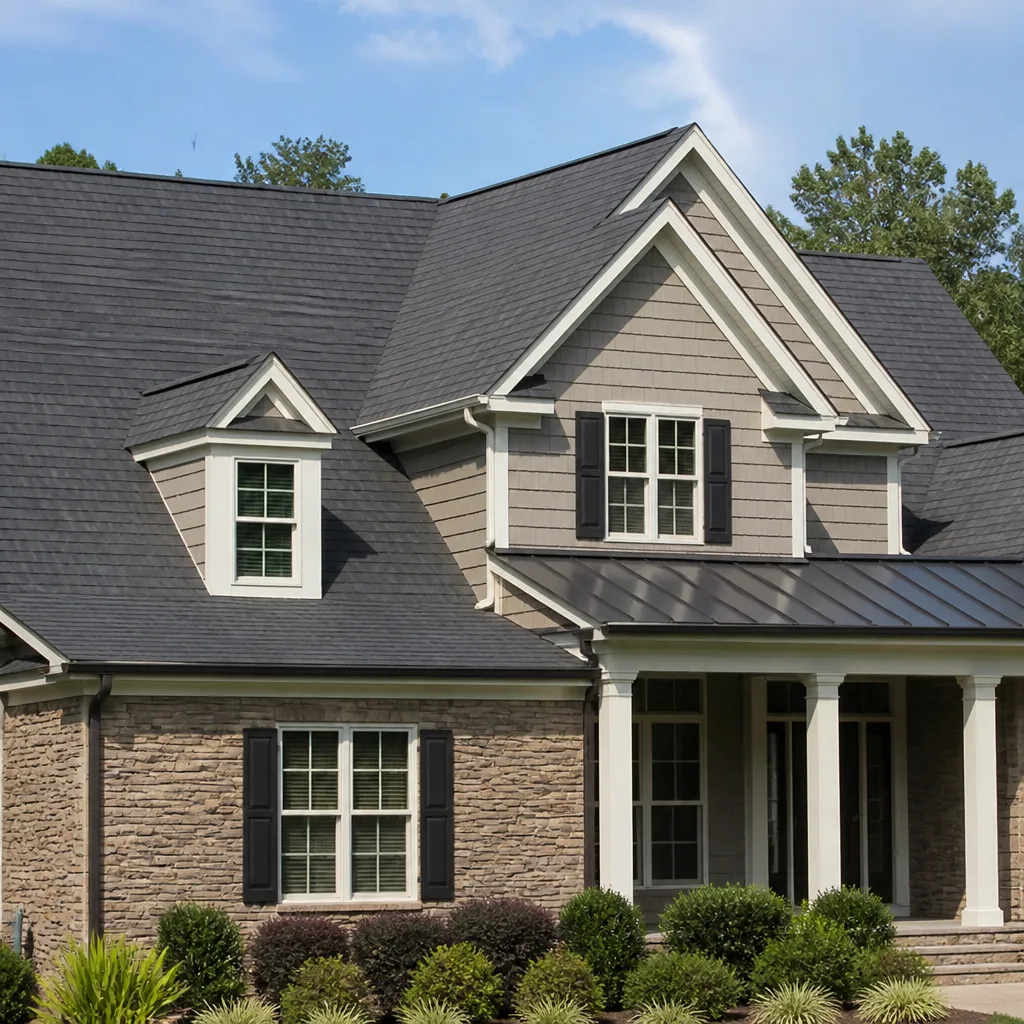 Architectural shingles
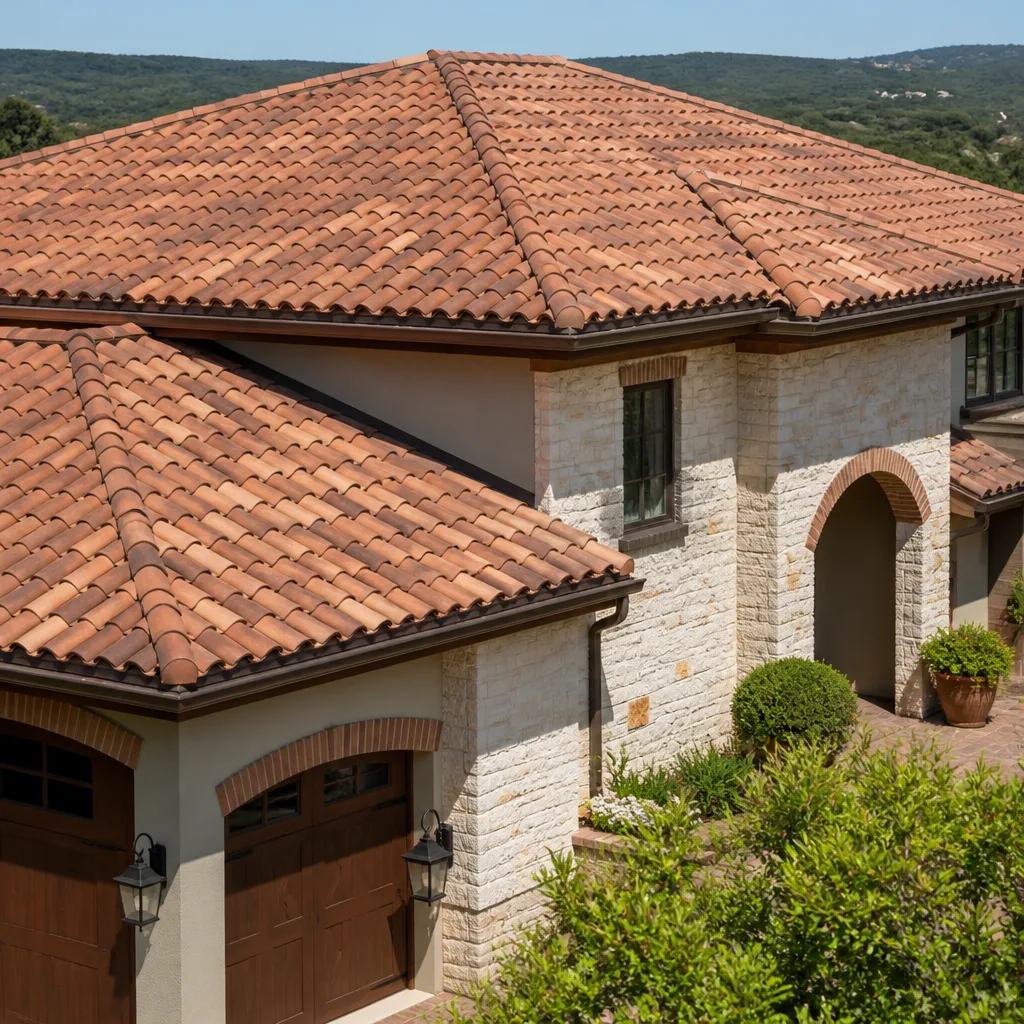 Tile roofing
 GAF
GAF Owens Corning
 Flat & low-slope
Free roof inspection with deck photos before we talk money - GAF and Owens Corning certified installation
Tamko Ridge Vent Installation: The Ventura Owner’s Guide
We stock and install Tamko-compatible ridge vent systems throughout Ventura, with most complete installations running $450 to $900 depending on roof length and whether we’re removing failed existing vent. Our trucks carry Tamko OEM ridge vent rolls and the matching Tamko nails, caps, and end closures, so a failed vent replacement can usually be done same-day when the roof decking underneath is still solid. Most Ventura homeowners don’t discover their ridge vent failed until summer hits, the attic gets unbearable, and the AC bill jumps $40 a month. You might also catch it after a winter rain when you see a ceiling stain near an exterior wall or hear a faint whistle along the ridge line during Santa Ana wind events. If you’re on this page, you either just spotted a section of ridge vent that’s cracked, warped, or blown loose, or you’re planning a re-roof and want the ridge done right from day one.
Which Tamko Models This Applies To
Tamko’s current ridge vent line includes the Tamko Metal-Aire and the Tamko Rollex series, and the compatibility picture matters more than most people expect. Metal-Aire is a rigid aluminum vent, sold in 4-foot sections, and it’s the one we most often see on Ventura homes built in the late 2000s onward. Rollex is a roll-form vent, almost like a stiff mesh mat, and it needs to be installed with the fabric side oriented correctly or it pulls moisture into the attic instead of exhausting it. The gotcha: Tamko ridge vent is sized to Tamko ridge cap shingles, and mixing a Tamko vent with a different brand’s cap shingle changes the nail line and the exposure. That’s the most common compatibility failure we see, actually. A homeowner or a rushed crew pairs a Tamko Metal-Aire vent with a cap shingle that doesn’t cover the nail flange, and two years later the vent is flapping against the ridge. If you’re replacing an existing vent, check the end closure for a stamped “TW” marking, and measure the width across the top. Tamko metal vents measure 11¼ inches wide; the roll-form runs about 10½ inches. That measurement tells us which system you have before we ever climb the ladder. We also stock quality aftermarket equivalents for Tamko product lines, but if the roof still carries Tamko shingles, we recommend staying OEM for the cap match. Crestview Roofing Co Ventura is an independent roofing contractor and not affiliated with Tamko, but we install their vent products daily and keep the common models on hand.
Styles & brands we work with
Signs Your Tamko Ridge Vent Installation Is Failing
- Attic heat that won’t drop below 120°F in July. Ventura afternoons routinely push attic temps past 130°F when the ridge vent is working; a failed vent can push that past 150°F. If the attic feels like a sauna at 7 a.m., the vent isn’t exhausting overnight heat, and that’s usually a crushed or blocked ridge vent.
- Whistling or flapping during Santa Ana winds. A properly fastened Metal-Aire vent sits tight against the ridge. When the nail flange tears loose from a bad install or age, the vent edge lifts and you’ll hear it from inside the house. That’s the vent telling you it’s one strong wind event from becoming a projectile.
- Water staining along the ceiling where it meets exterior walls. This is the counterintuitive one. A failed ridge vent doesn’t usually leak straight down through the attic; it lets wind-driven rain in at the ridge, and the water travels down the roof deck until it hits the soffit line. The stain shows up far from the actual failure.
- Visible cracks or brittleness in the vent plastic or metal. Tamko vents hold up well, but Ventura’s UV is relentless. A vent with 10-plus years of direct California sun exposure can become brittle and shatter at the nail holes. Once the nail holes crack, the vent’s structural grip is gone.
- Your AC bill climbed $25 to $50 a month with no obvious cause. The attic is your home’s thermal buffer. When ridge vent fails, superheated attic air presses down into the living space, and your HVAC works against it all afternoon. If your air handler runs longer in the afternoon and the house still feels warm by 4 p.m., the attic ventilation is worth checking first.
See the difference
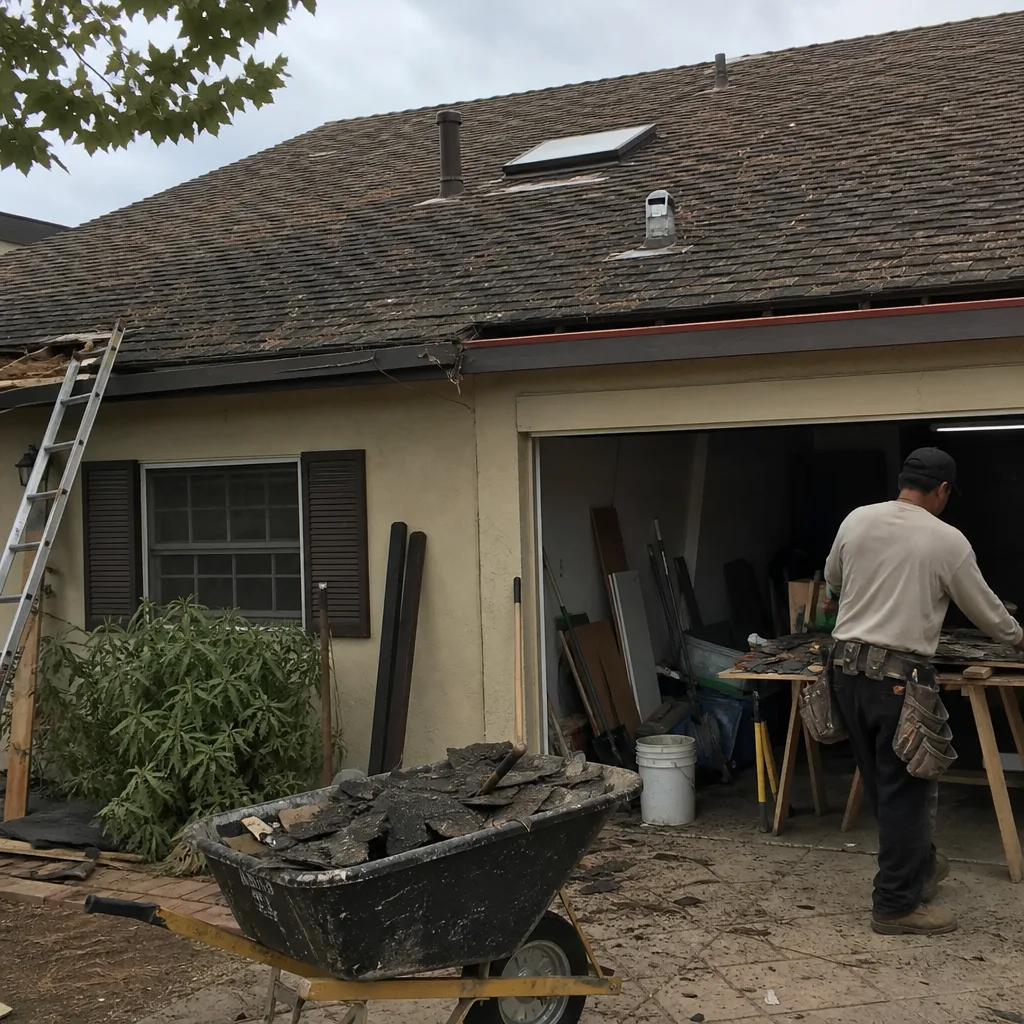 Before
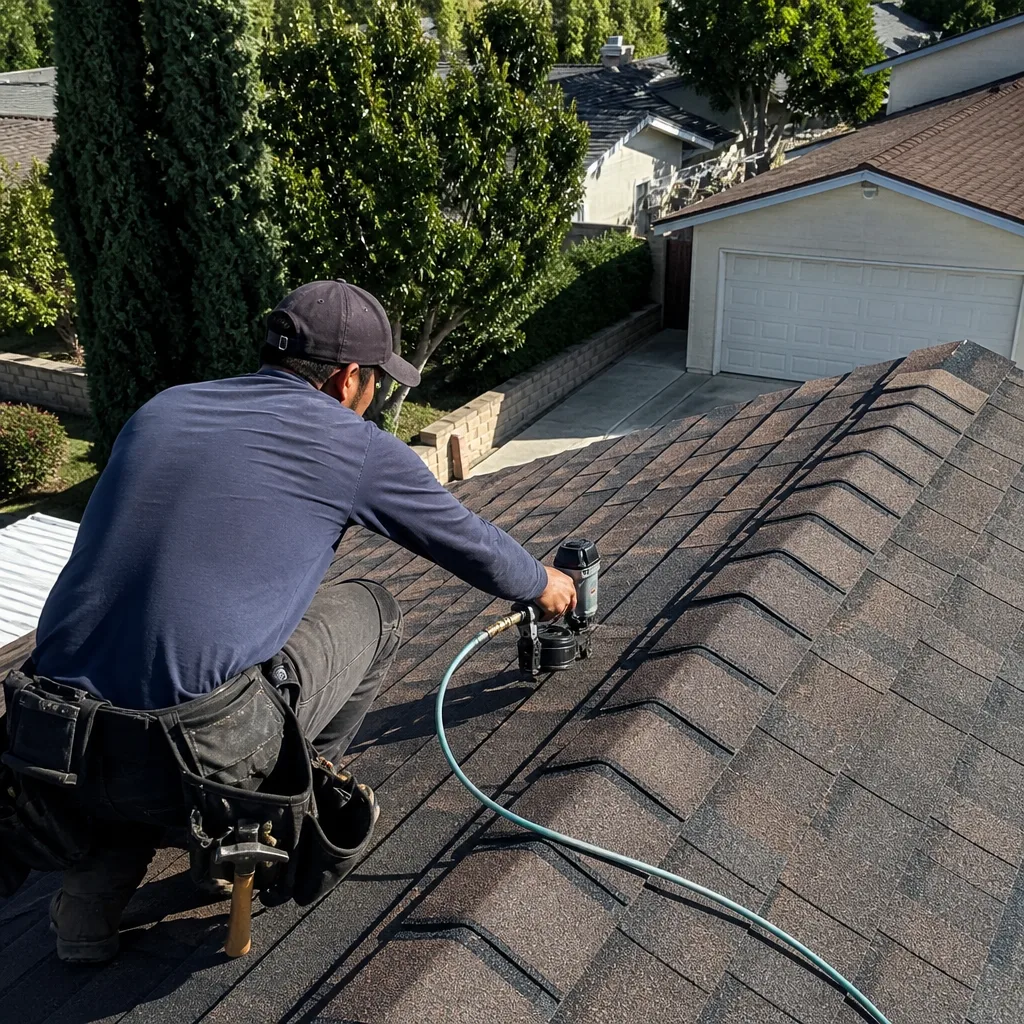 After
After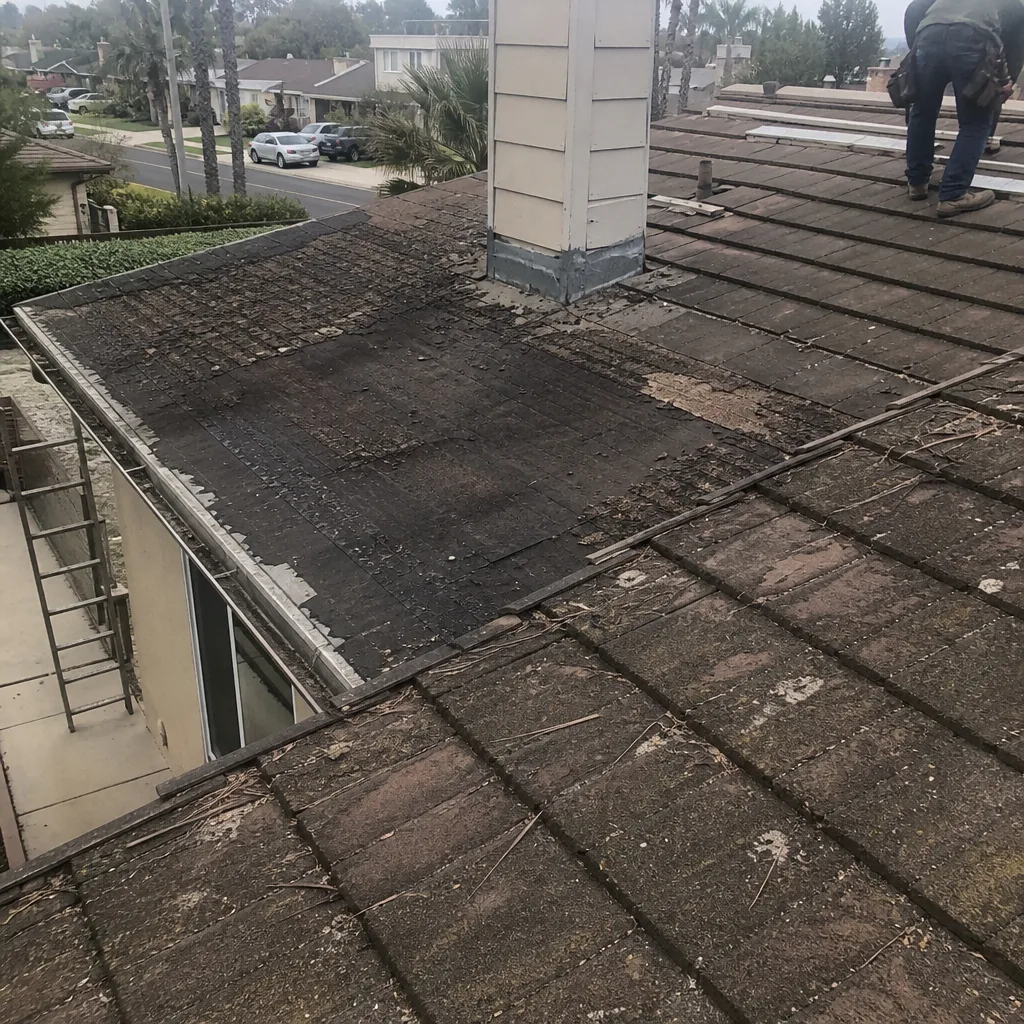 Before
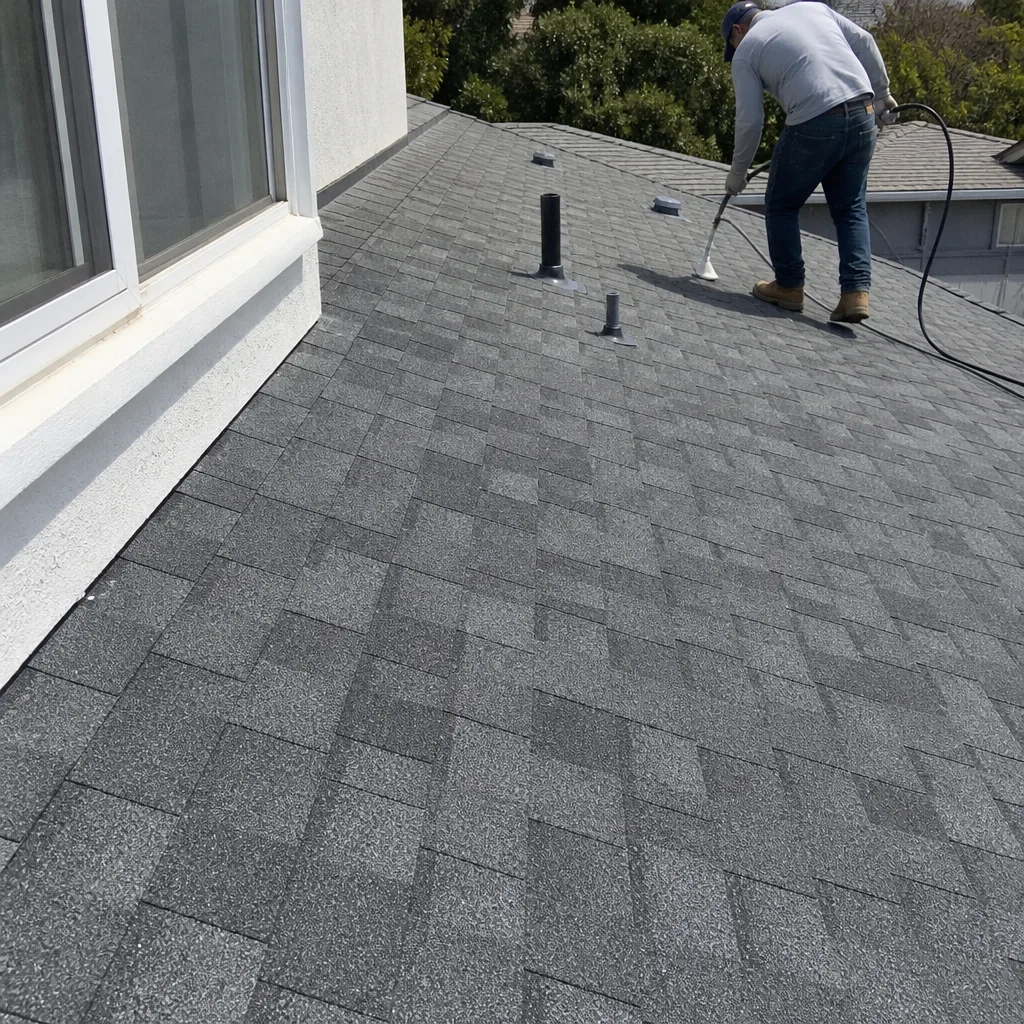 After
After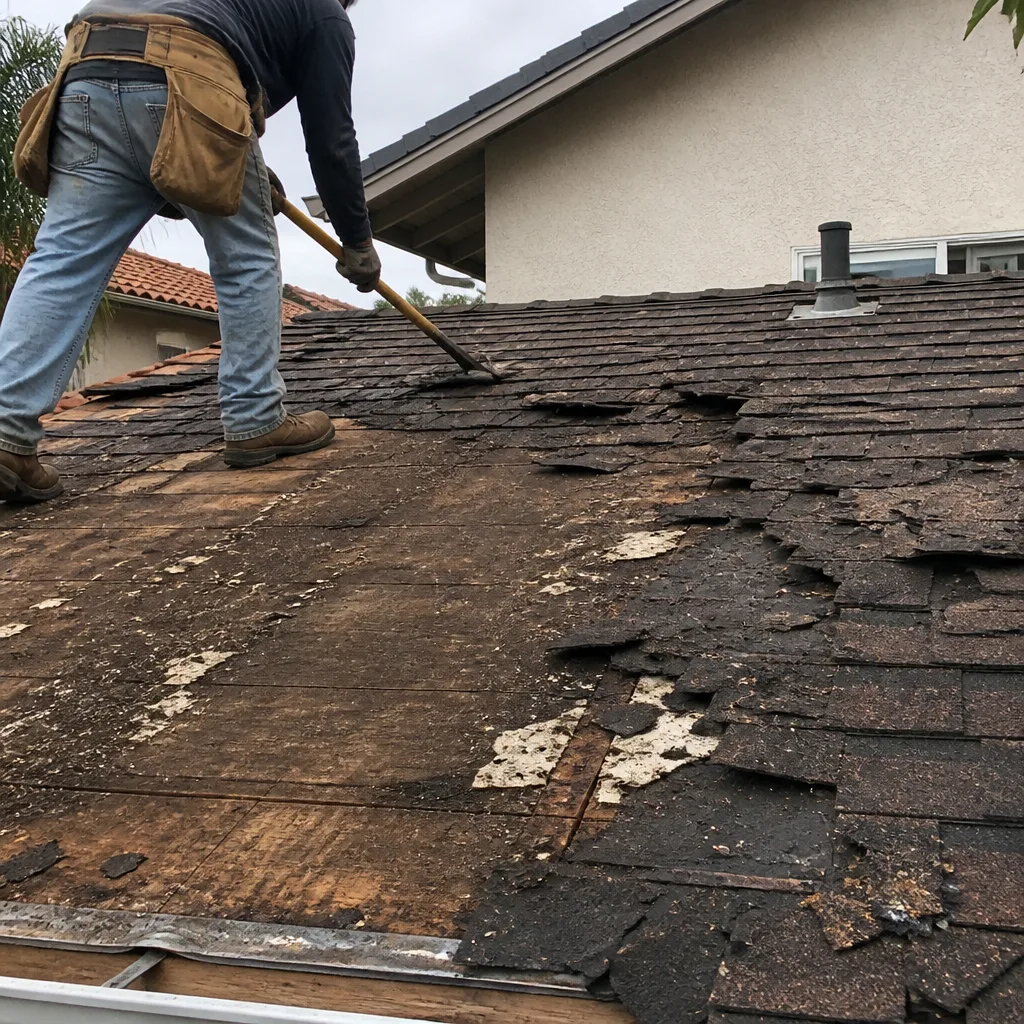 Before
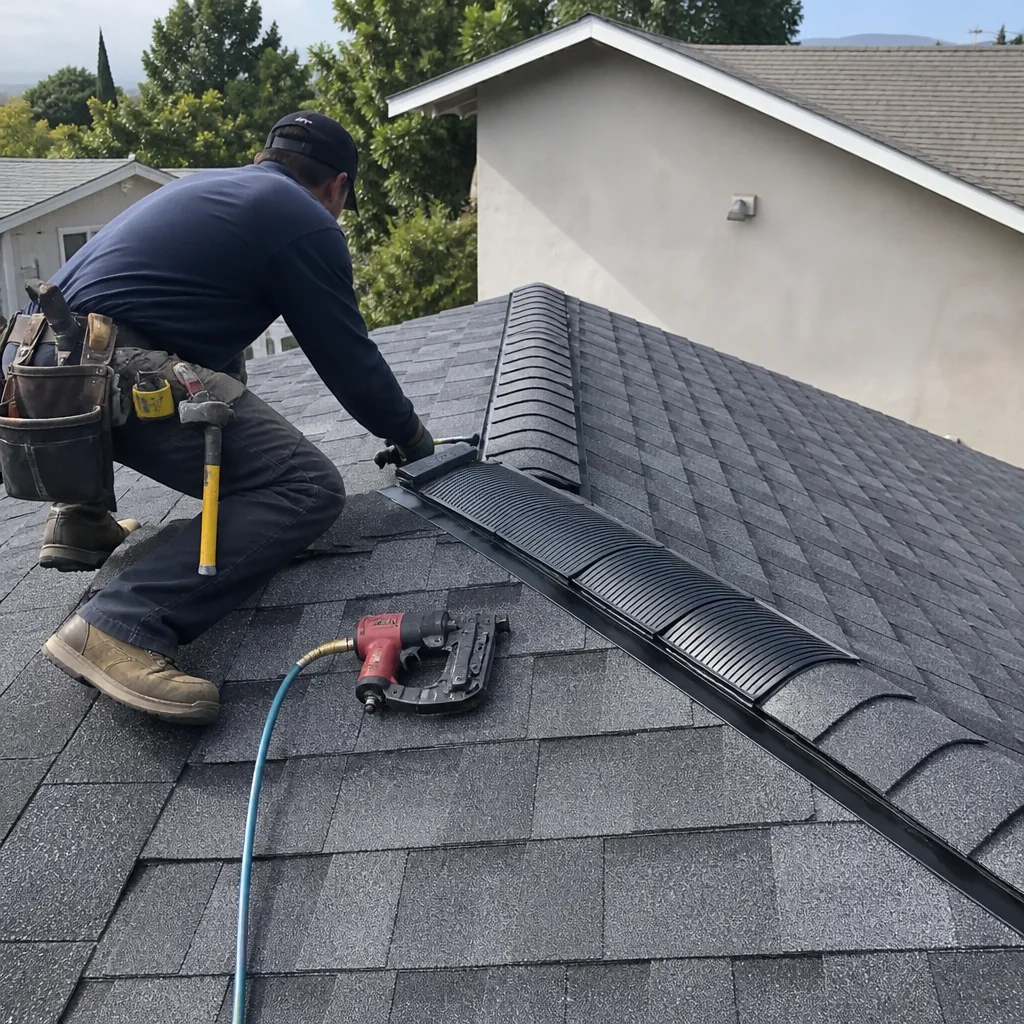 After
AfterReplacement Cost & What’s Included
A straight Tamko ridge vent replacement in Ventura, where we pull the old vent, check the decking, and install new vent with new closures and cap shingles, typically runs between $450 and $900. The spread comes from two things: total ridge length and the condition of the decking underneath. A 30-foot ridge on a small Ventura bungalow is a different job than a 60-foot ridge on a larger foothills home. Here’s the transparent breakout:
- Vent material (Tamko Metal-Aire or Rollex): $12 to $20 per 4-foot section, plus closures and caps
- Labor, including old vent removal and deck inspection: $250 to $450 for a standard single-story ridge
- Cap shingle replacement, if the old caps crack during removal: $60 to $150, and we always quote this as a likely line item on older roofs
What’s included in our written price, before we ever touch the roof? Old vent removal and disposal, decking inspection, new Tamko vent and closures, new cap shingles where the old ones won’t survive reuse, and a written 365-day workmanship warranty on the install. If any part of our ridge vent work fails inside that year, we come back and correct it at no charge.
DIY or Call Us?
Let’s be honest about this. You can check a Tamko ridge vent from the ground or a ladder without much risk: look for lifted edges, cracked plastic, missing nail heads, and any vent section that’s shifted out of line. If you see those, you’ve confirmed the problem. That’s useful. But actually replacing a ridge vent means working on the peak of the roof, pulling nails, and installing cap shingles over your head while balancing on a ridge line that can be slick in the morning marine layer. It’s one of the highest-risk DIY spots on a roof, and one wrong step sends you off the edge. We don’t recommend it. If you want to eyeball it yourself and call us with findings, that’s the smart move. Then we’ll confirm it, put a written price together, and handle the height work with the right tie-offs and fall protection. Call (559) 249-4917 and a live person will answer, any hour, and schedule a free look at your ridge vent.
FAQs
Expect 12 to 18 years for a properly installed Tamko Metal-Aire vent, and 10 to 15 for the roll-form Rollex. Ventura’s UV intensity and Santa Ana wind cycles shave a few years off what you might see in a milder climate. Call (559) 249-4917 for a free inspection if yours is a decade old.
In most cases we can repair isolated damage, like one cracked 4-foot Metal-Aire section or a torn end closure, for under $200. If multiple sections or the nail flange are compromised, replacement is the honest call. Call (559) 249-4917 and we’ll tell you which one you actually need.
Most Ventura homes take us four to six hours from setup to cleanup, and on single-story roofs we’re often done by early afternoon. The decking inspection and any old-cap removal add time only if we find rot. Call (559) 249-4917 for a time estimate on your specific roof.
Yes. We keep Tamko Metal-Aire and Rollex vent sections, end closures, and cap shingles on our Ventura work trucks, so we can usually handle same-day replacement once we’ve confirmed your existing setup. Call (559) 249-4917 with your vent measurements and we’ll bring the right parts the first trip.
For Tamko ridge vent installation in Ventura, call Crestview Roofing Co Ventura at (559) 249-4917. We’ll give you a written price before any work starts, show you before-and-after photos, and back the install with a 365-day Done Right Promise in writing. If it’s not in writing, it’s not a promise.
Written by Dylan Pace, Owner, Crestview Roofing Co Ventura at Crestview Roofing Co Ventura, serving Ventura and nearby areas.